I knew this site was broken. I did not know for how long, or why, and for years I did not look. It sat at techblog.viveksanghi.com returning nothing, and every year that passed made it a slightly larger thing to open.
When I finally opened it, the server turned out to have been keeping a precise record of what happened.
I did the work over one evening with Claude, which matters to how this reads. I made the decisions and ran every command on my own server; the diagnosis, the scripts and several confident wrong turns came from the model. The wrong turns are in here too, because they were the useful part. Tech is a hobby for me. Law is what earns my living, and a fifteen-year-old broken WordPress had long since stopped being a thing I could justify an evening on. Having something that would grind through log files and SQL dumps without getting bored changed that arithmetic.
What the server was saying
The first question was whether anything was alive at all. The domain resolved to my DreamHost IP, same as my other sites, so DNS was fine. HTTPS failed on a certificate error. Over plain HTTP I got a 301 to the www hostname, then a 500 Internal Server Error with an empty response body.
An empty 500 is a particular kind of unhelpful. No error on the page, no stack trace, nothing to search for. It means PHP died before producing output, with display_errors off, which on a production host it should be.
The useful clue came from the access log rather than the error log:
2026-09-02 21:24:28 200 /favicon.icoA 200. Static files were being served. That one line rules out most of what an empty 500 can mean. Apache was healthy, the virtual host was configured, the document root pointed at the right folder. Only PHP was dying.
Which meant anything on the site that was not PHP could still be read. So we asked for the file every WordPress install ships and nobody ever deletes:
curl http://techblog.viveksanghi.com/readme.htmlVersion 3.1.2
Semantic Personal Publishing PlatformWordPress 3.1.2, released April 2011.
The one-line cause
The error log had been recording the same entry for years:
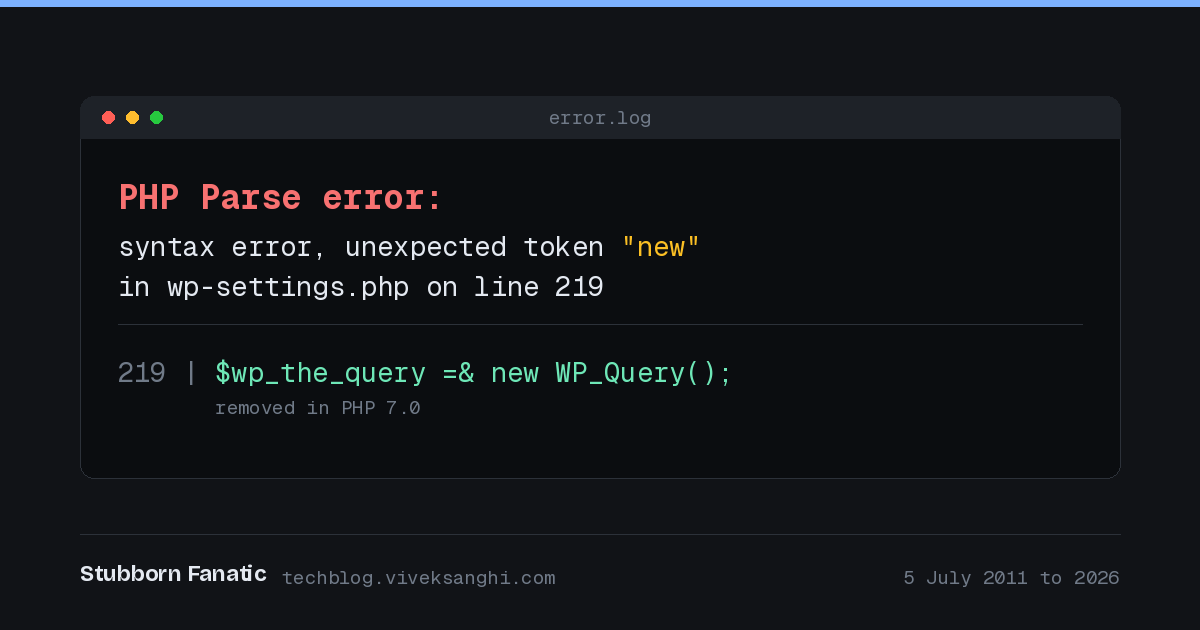
[techblog.viveksanghi.com] [warn] mod_fcgid: stderr: PHP Parse error:
syntax error, unexpected token "new" in
/home/viveksanghi/techblog.viveksanghi.com/wp-settings.php on line 219
Line 219 of WordPress 3.1.2 reads:
$wp_the_query =& new WP_Query();That =& is assignment by reference to a newly created object. It was correct in PHP 4, where objects were copied on assignment and the reference avoided the copy. PHP 5 made objects handle-based and the construction became pointless. It was deprecated in PHP 5.3 and removed in PHP 7.0.
Removed, not deprecated. In PHP 7 and later this is not a warning or a runtime error. It is a parse error. PHP refuses to compile the file, so nothing in it executes, no error handler runs, no output is produced, and Apache has nothing to return but a bare 500.
The site did not break from anything I did. It broke when DreamHost moved past PHP 5, and it has been serving 500s to search engines and bots ever since.
Could it be patched? The construction appears 252 times across WordPress core. PHP stops at the first one, but fixing that line only exposes the next. This is not a bug you repair. It is a language incompatibility, and the only answer is a newer WordPress.
The timestamp in the root directory
Sitting in the web root was a file called .maintenance, containing one line:
<?php $upgrading = 1309848013; ?>WordPress writes that file when it begins a core update and deletes it when the update finishes. This one was never deleted.
That Unix timestamp is 05/07/2011, 06:40 UTC.
WordPress 3.2 was released on 04/07/2011. Alongside .maintenance were two directories in wp-content called wordpress-3.tmp and wordpress-31.tmp, the staging folders the updater uses while unpacking.
So: the day after 3.2 came out, I clicked update. It stalled. It left the lock file, the temp directories, and a site still running 3.1.2.
The lock file did no harm. WordPress ignores a .maintenance older than ten minutes, a sensible piece of defensive design and the reason the site kept serving afterwards. But it dates the incident to the minute.
What the logs cannot tell you is what the site looked like when it stopped.
It was running Grid Focus, a theme I had modified by hand over several years until not much of the original remained, with a stack of plugins I had chosen one at a time. The update took it down. I troubleshot for a while. Then life happened, and I lost interest the way you do when a thing stops being fun and starts being a chore.
So I let it sit. Somewhere between 2020 and 2022 I paid a freelancer on Fiverr to bring it back, and for a while it worked. That did not last either.
Both theme folders were still on the server when I finally went looking. grid_focus_public and gridfocus-v1.5.1b, sitting among fifty other themes I had collected and forgotten, exactly where I left them in 2011.
Five years of nobody noticing
The site did not go down in 2011. It went stale in 2011 and died some years later when PHP moved on. The first half is provable.
An old wp-dbmanager install had been taking weekly database backups and leaving them in wp-content. There were 134 of them, 2.7 GB in total, running from 29/05/2011 to 31/07/2016.
Comparing the oldest against the newest, by table:
techblog_..._20110612.sql   posts: 274,916 bytes   comments: 370,174 bytes
techblog_..._20160731.sql   posts: 274,916 bytes   comments: 370,174 bytes
Byte for byte identical. Not a single post or comment changed between June 2011 and July 2016. The blog stopped in 2011 and the backups kept copying the same corpse every Sunday until they stopped too.
But the dumps grew from 1.4 MB to 37 MB over those years. Something was expanding. Breaking the 2016 file down by table:
12,549,505  wp_usermeta
   370,174  wp_comments
   342,650  wp_options
   274,916  wp_posts
    79,785  wp_postmeta
Twelve and a half megabytes of user metadata against 275 KB of actual writing, reaching about 35 MB by the final backups. Open registration on an unpatched WordPress 3.1.2, and five years of bots signing up. The comments stayed clean, which I put down to Akismet and the captcha plugin, though I cannot prove that from the data. Nothing at all was guarding the registration form.
Ninety per cent of my database was junk accounts.
Deciding not to repair
Reviving the 3.1.2 install was never really available. There is no supported upgrade path across fifteen years, and the parse error fires before WordPress prints a byte, so I could not reach an admin screen to start one.
Rebuilding felt right for a less technical reason. The install carried 44 plugins and 51 themes. Among the plugins were disable-wordpress-core-update and disable-wordpress-plugin-updates, which explains a good deal about why it was still on 3.1.2. Copies of wordpress-28.zip through wordpress-284.zip sat in wp-content, publicly readable. There was a forum directory, empty, and two bbPress integration plugins pointing at it.
A WordPress 3.1.2 install had been exposed to the open internet for roughly eight years before PHP killed it, and that version has a long published list of vulnerabilities. There is an irony worth sitting with: the parse error that took the site down has probably been protecting it since about 2019.
So: current WordPress, content carried across, nothing else.
Getting the content out
The live database was reachable but not trustworthy, and I had 134 dumps provably unchanged since 2011. We took the last one and parsed it directly rather than restoring it anywhere.
Two things came out of that which looking at the site would never have shown.
The comments were duplicated. The table held 840. After normalising whitespace and stripping tags, only 606 were distinct. 234 were exact duplicates of another comment on the same post by the same author, each pair differing only in whether the
id=7    2006-09-06 16:54   'Thanks for viewing my Blog. Well... I must say...'
id=505  2006-09-06 11:24   'Thanks for viewing my Blog. Well... I must say...'
The second copies sit in a contiguous block of IDs above 500. The database is called techblog_blogger and the install had a blogger-blogspot-redirect plugin. A Blogger import run twice in 2006, once preserving HTML and once stripping it. Twenty years, and I never noticed, because on the page a duplicate comment just looks like somebody posting twice.
The spam was not where anyone expected. Given the state of the usermeta table, the assumption was that comments would be full of pharma and casino links. A pattern search for the usual vocabulary returned zero matches. The volume by year decays the way real traffic does, 571 in 2006, 208 in 2007, then single and double digits as the blog went quiet, rather than flooding the way a farmed table does.
The first attempt to find spam scored comments by link density. On a blog about Blogger and WordPress hacks that is a terrible signal, and it flagged 43 comments, most of them my own replies containing four or five links to code examples. Claude had produced that heuristic, run it, looked at the output and thrown it away unprompted, which was the right call and not one I would have caught if it had not shown me the list.
The second pass went by author name and destination domain and found the real thing: thirteen keyword-anchor link drops, the kind where the author name is the product. “Mens Suit” linking to a suit retailer. “Website Design Atlanta”, three times. “beats for sale”. “laptop battery”. Short, on-topic enough, easy to approve by accident in 2010.
That left 593 comments, all genuine, threading intact.
There was also a post dated 26/12/2020 in a database dumped in 2016. A draft whose post_date carried a mistyped year, its post_modified correctly reading 27/12/2010. It had been sitting ten years in the future for a decade.
What the rehearsal caught
Rather than trust the import, we rehearsed it: MariaDB and WP-CLI in a throwaway container, the same WordPress version, a replica of the uploads folder, the real import file.
Every expected number came back right except one. Attachments came out as zero instead of eighteen.
The WordPress importer does not simply create attachment records. For each attachment it downloads the file from the URL in wp:attachment_url. In the container that URL was unreachable, so every attachment failed silently.
On a real server it is worse than a clean failure. The URL points at the site being restored, over HTTPS, at a moment when the certificate has not been issued. And if the download does succeed, it writes a second copy of every file beside the ones already sitting in wp-content/uploads.
The fix is to tell it not to:
wp import export.xml --authors=create --skip=attachmentand then register the files already on disk, in place:
find wp-content/uploads -type f \( -iname '*.jpg' -o -iname '*.gif' \) \
  | grep -vE -- '-[0-9]+x[0-9]+\.[A-Za-z]+$' \
  | while read -r f; do wp media import "$f" --skip-copy; done
The grep -v matters. Of 56 files in the uploads folder, 36 were WordPress’s own generated thumbnails. Without that filter every -150x150 crop becomes its own media library entry.
Nobody would have found this by reading the script. It appeared only by running the whole thing end to end against a real database.
Four ways the deploy script was wrong
This is the part I would not have predicted before the evening started. The script that rebuilt the site was written for me to paste into an SSH session, and it had to be fixed four times before it ran clean. Every failure was caught by the script’s own preflight, before anything on my server was touched.
getent does not exist on DreamHost’s shell. The DNS check used it. The script would have aborted in preflight with a confusing error. Replaced with a PHP lookup, since PHP is guaranteed present there.
pipefail and head do not mix. The script ran wp --info | head -3. head closes the pipe after three lines, wp gets SIGPIPE and exits 141, and set -o pipefail with set -e turns that into a silent abort. The three lines of output on my screen were the last thing the script printed before killing itself, and the failure looked like nothing at all.
A $ in a password. My admin password contained $4. Inside double quotes bash expands that as a positional parameter, which does not exist, and set -u correctly aborted. The config block now uses single quotes.
--raw wrote an undefined constant. This one actually reached my server. The script ran wp config set WP_AUTO_UPDATE_CORE minor --raw, which writes define('WP_AUTO_UPDATE_CORE', minor); without quotes. In PHP 8 an undefined constant is a fatal error, so WordPress could not load at all, and the script reported it as “cannot reach the database” — which was wrong and sent me looking in the wrong place.
There was a fifth, structural, caught before I ran anything: the original script tested the database connection after renaming my site directory. If the database had been unreachable, it would have moved my entire site aside and then died. That ordering was reversed so every destructive step sits behind a check that has already passed.
I record these because the honest version of “an AI helped me fix my site” includes the four times it handed me something broken. What made it work was not that the output was right first time. It was that each failure was cheap, legible, and caught before it cost anything.
The redirect loop I caused myself
With WordPress installed and content imported, the site returned a redirect loop. techblog.viveksanghi.com redirected to www.techblog.viveksanghi.com, which redirected straight back, forever.
We assumed the host was misconfigured. I opened a support ticket saying so. One command showed we were half wrong:
curl -sI http://techblog.viveksanghi.com/readme.html      → 301
curl -sI http://www.techblog.viveksanghi.com/readme.html  → 200 OK
A static file that exists on disk gets redirected at the bare hostname and served at www. That first redirect happens above .htaccess, in the host’s virtual host configuration, and nothing on my side could override it. That half was DreamHost’s, and they removed it inside a couple of hours when asked properly.
The second redirect was mine. Static files at www served fine and only WordPress-handled paths bounced. That is redirect_canonical doing its job, because siteurl and home were set to the bare hostname while the server was serving www. Each half behaved correctly. Together they were an infinite loop.
Testing a static file rather than the homepage is what separated them. On the homepage both redirects are in play and the trace tells you nothing about which layer owns which. I cancelled the first ticket and filed a more accurate one.
What I would tell someone with a site in this state
Test a static file first. Whether readme.html serves tells you in one request whether the web server is broken or only PHP is. Almost everything that followed came out of that one 200.
The error log is the whole answer, and it is not in the panel. The hosting control panel showed access logs and traffic graphs for days. The actual parse error, repeating identically for years, was in a file on disk.
Check whether your content changed before you value your backups. 134 weekly backups sound like excellent hygiene. Comparing the first against the last showed 134 copies of the same 2011 content, with only the spam growing. Backup count measures nothing.
Rehearse the restore. A throwaway database and a full dry run took under an hour and caught a defect that would have cost the entire media library, silently, with a success message.
Suspect your own configuration before your host’s. I was three quarters of the way to blaming DreamHost for a redirect loop I had created myself.
If you are working with a model, make it show you its output, not just its conclusions. Every one of the four script defects and the bad spam heuristic surfaced because something got printed and looked wrong. None of them surfaced from reading the code.
The site is back. Seventy-five posts, 17/04/2006 to 25/05/2011, and 593 comments, on WordPress 7.1 with a clean database and no plugins carried across.
Sixty-eight images in the older posts still point at photos1.blogger.com and the bp1 to bp3 hosts, which Google retired years ago. Those have been broken far longer than the site was, and there is nothing left to restore them from. I am inclined to leave them, with a note. A blog that ran from 2006 should be allowed to show its age somewhere.


